
In Power Automate Desktop, Odata filter query is used to get the precise data from the SharePoint list based on specific conditions. For example, Task status eq completed, then it will retrieve the items from the SharePoint list whose task status is completed.
In this Power Automate Desktop tutorial, we will see how to filter different columns while getting items from the SharePoint list.
The columns that will be filtered are as follows:
- Choice
- Date
- Lookup
- A single line of text
- Person
For this, I have created a SharePoint list that contains details related to the Employee and which contains the following columns:
- Title-Single Line of text
- Name-Person
- Department-Choice
- Joining Date- Date/Time
- Designation- Single line of text
- Manager- Lookup column from the Manager list
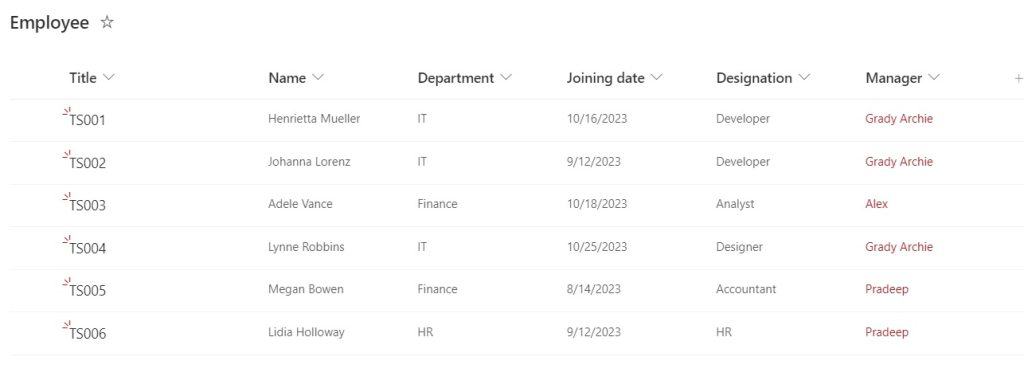
Whereas the manager list contains the below columns in SharePoint.
- Title-Single Line of text
- Name- Single line of text
- Email address- Single line of text
- Phone Number- Number
- Department-Choice
- Job Title- Single line of text

Let us see how to implement the SharePoint Get items filter query for various types of columns like Choice column, Date column, lookup column, person column, etc.
Power Automate Desktop SharePoint Get items Filter Query [Choice column]
Here, we will get the employee name from the SharePoint list ‘Employee’ based on the query i,e. Department eq IT using Power Automate Desktop.
Now, we will create a desktop flow that will get items from the SharePoint list ‘Employee’ based on the query, i.e. Department eq ‘IT’. That means those employees from the IT department will be fetched, and the names will be displayed in the Message box.
Step 1: Open Power Automate Desktop and click on +New flow. Then, provide the flow name and click on Create.

Step 2: Now, we will get items from the SharePoint list; for this, drag and drop the Get items action. Then provide the below information:
- Site address: Provide the SharePoint site address
- List name: Provide the SharePoint list name
Then click on Advance options
- Filter query: provide the below query:
Department eq 'IT'
Step 3: Next, we will create a new list called “Employee”, so drag and drop the Create new list action. Then provide the below information:
- Here, change the variable name to Employee.
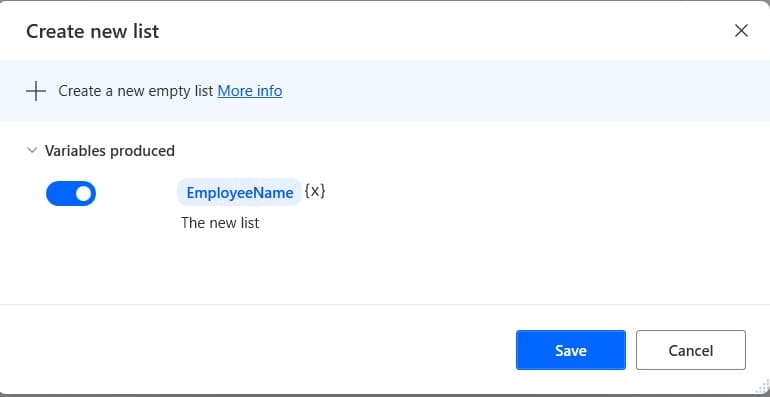
Step 4: Next, we will parse the JSON, so drag and drop the ‘Convert JSON to Custom object’ action to canvas and then provide the below information:
- JSON: Select the ‘GetItemResponse’ variable.

Step 5: Next, we will loop through each item and get the names of the Employee, so, drag and drop the For each action. Then provide the below information:
- Value to iterate: Provide the below argument:
%JsonAsCustomObject['value']%