In this Power Pages tutorial, I’ll show you how to set up Google login as an authentication method. This is great when you want to allow users to sign in to your site using their Google accounts, whether they’re internal users, partners, or public visitors.
Power Pages supports multiple OAuth 2.0 providers, including Google, Facebook, LinkedIn, and others. Today, we’ll focus on Google as the identity provider. You’ll register your Power Pages site with Google Cloud, configure the client credentials in Power Pages Studio, and test the login experience.
Google Identity Provider Authentication in Power Pages
Adding Google login to your Power Pages site means visitors can sign in using their Google accounts. This makes things easier for users; they don’t have to create a new username and password just for your site.
It also adds a layer of security, since Google handles the login part. Once a user signs in with Google, Power Pages connects that user to a contact in Dataverse, so you can manage what they see and do on your site.
Now, let’s look at the exact steps you need to follow to enable Google login in your Power Pages site.
Steps to set up Google Login in Power Pages:
- Enable authentication in Power Pages
- Create a project in Google Cloud Console
- Configure the OAuth consent screen
- Create OAuth 2.0 credentials (Client ID and Secret)
- Add the Google identity provider in Power Pages
Enable authentication in Power Pages
- Open Power Pages Studio. Select your site -> click Security -> choose Identity providers.

- At the top, click Authentication settings. Toggle the External login switch to On. Click Save.

This allows your Power Pages site to accept external user sign-ins, such as Google and Microsoft.
Create a project in Google Cloud Console
We’re creating a new app in the Google Cloud Console so Google knows which site is requesting login.
Just like Microsoft requires app registration for authentication, Google does too. It helps verify and secure the communication between your site and Google’s login system.
- Go to Google Cloud Console.
- Click on Create Project.

- Give it a name, “GoogleLogin,” and click Create.

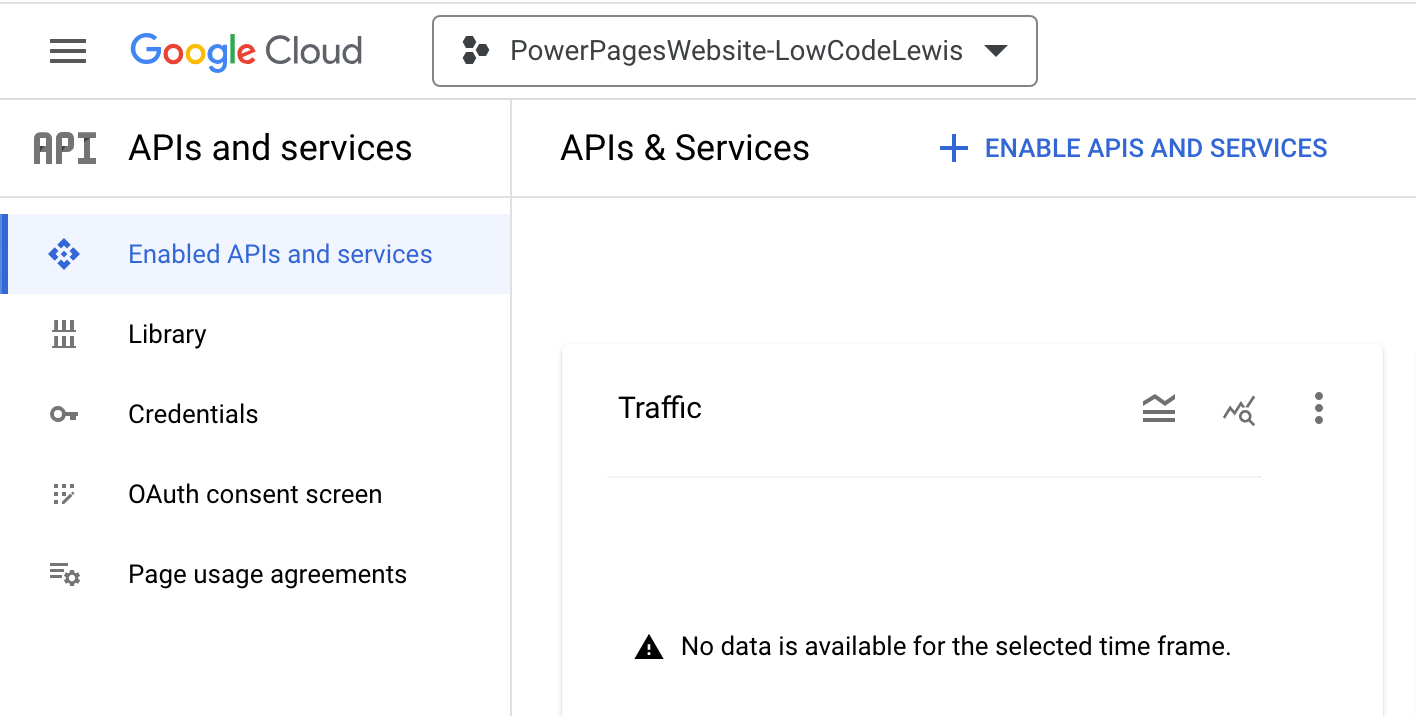
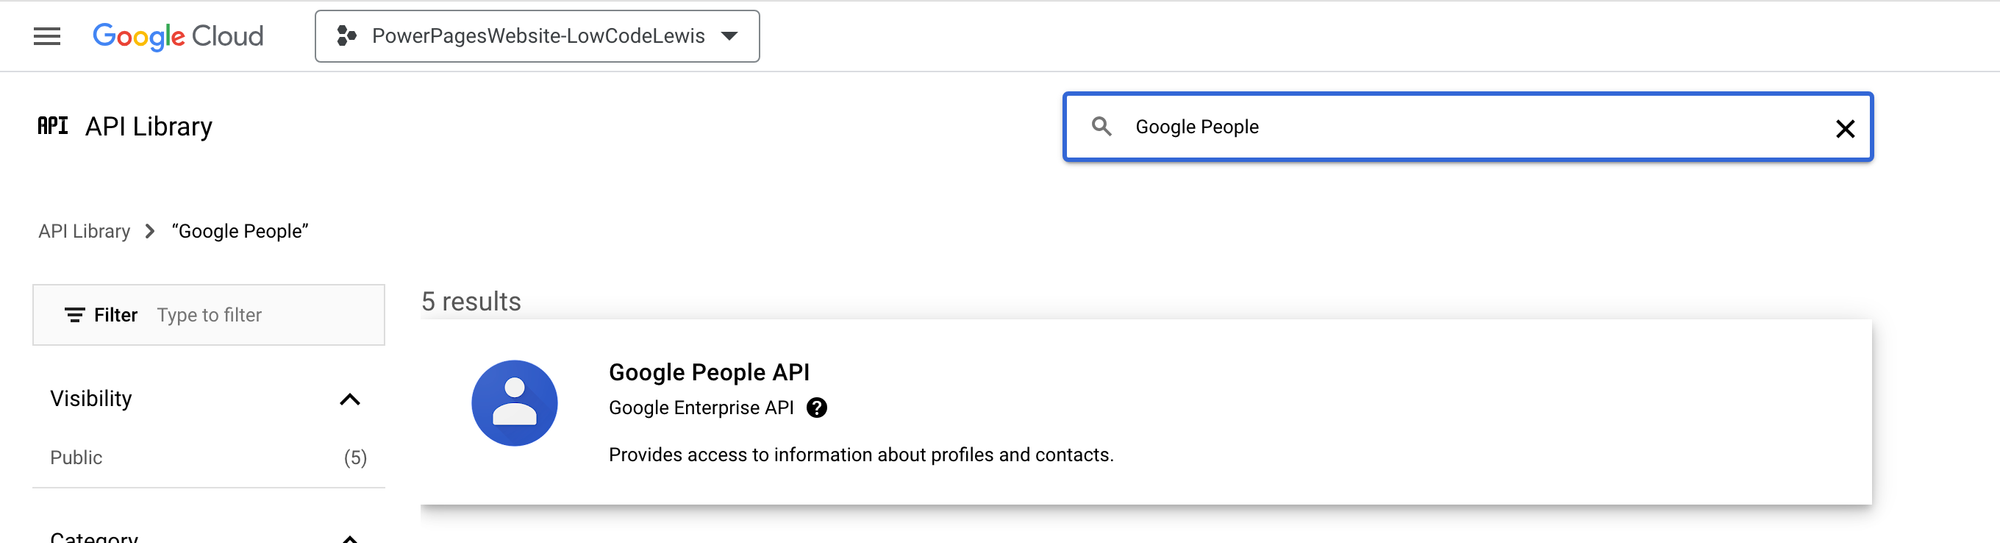
- Now we’ll create an app in Google Cloud with a redirect URL set to our website. Inside your API project, select “+ Enable APIs and Services“.

Check out: Create A Form In Power Pages

Set Up OAuth Consent Screen in Google Cloud Console
This is where we generate the Client ID and Secret, essentially serving as a username and password for your site to communicate securely with Google.
- In the left menu, click APIs & Services -> OAuth consent screen.

Learn: Add a Multistep Form in Power Pages
- Then click ‘Create OAuth client‘.

- For Application type, select Web application.
- Set a name like PowerPagesAuthApp.
- Under Authorised JavaScript origins, add:
https://<your-site>.powerappsportals.com- Under Authorized redirect URIs, add:
https://<your-site>.powerappsportals.com/signin-googleReplace <your-site> with your actual site URL.
- Click Create.

Check Out: Add a Card Gallery in Power Pages
- Then click on ‘OAuth 2.0 Client IDs’. Copy the Client ID and Client Secret. You’ll need them in the next step.

Power Pages requires these credentials to communicate with Google’s authentication system.
Add Google Identity Provider in Power Pages
This is where you connect Google to your Power Pages site using the credentials you just got.
- Go back to Power Pages Studio -> Security -> Identity providers.
- Click Add identity provider -> choose Google.
- Fill in the required fields:
- Client ID -> paste from Google
- Client Secret -> paste from Google
- Click Save.

Check: Create Multi Agent in Copilot Studio
Now Google is officially connected to your site. Without this connection, Power Pages won’t know how to handle the login flow coming from Google.
Test Google Login in Power Pages
To make sure everything is working, from the consent screen to redirecting users back to your site after login.
- Open your Power Pages site in a new browser tab. Click Sign In.

- You should see a button: Sign in with Google.
- Click it and log in with your Google account.

If everything is set up correctly, you’ll be redirected to your profile page where you can see your name and email address.
This way, you’ve enabled Google login for your Power Pages site. This makes it easier for users to sign in securely without having to create new credentials. With Google as your identity provider, you get both convenience and security, all while keeping user data connected in Dataverse.
Also, you may like some more tutorials:
- Rename SharePoint List Using Power Automate
- Check if SharePoint List Already Exists in Power Automate
- Get and Delete a SharePoint list view using Power Automate
- Disable Title As Mandatory Field From SharePoint List Using Power Automate

Hey! I’m Bijay Kumar, founder of SPGuides.com and a Microsoft Business Applications MVP (Power Automate, Power Apps). I launched this site in 2020 because I truly enjoy working with SharePoint, Power Platform, and SharePoint Framework (SPFx), and wanted to share that passion through step-by-step tutorials, guides, and training videos. My mission is to help you learn these technologies so you can utilize SharePoint, enhance productivity, and potentially build business solutions along the way.

